Category Archives: AWS Certified Solutions Architect

Identity and Access Management – AWS Part 1

Amazon’s Identity and Access Management or IAM as commonly referred to gives centralized control to your AWS account. Not only can you give shared access with role based permissions you can also provide temporary access to users. Like Active Directory, you can set up a password rotation policy, length and complexity. There is an option for added security with multifactor authentication through providers like Google.

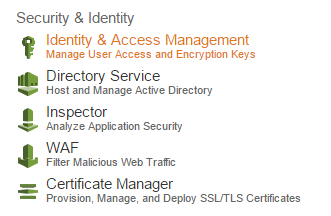
Log into your AWS account and click on the IAM symbol

iam4

iam1

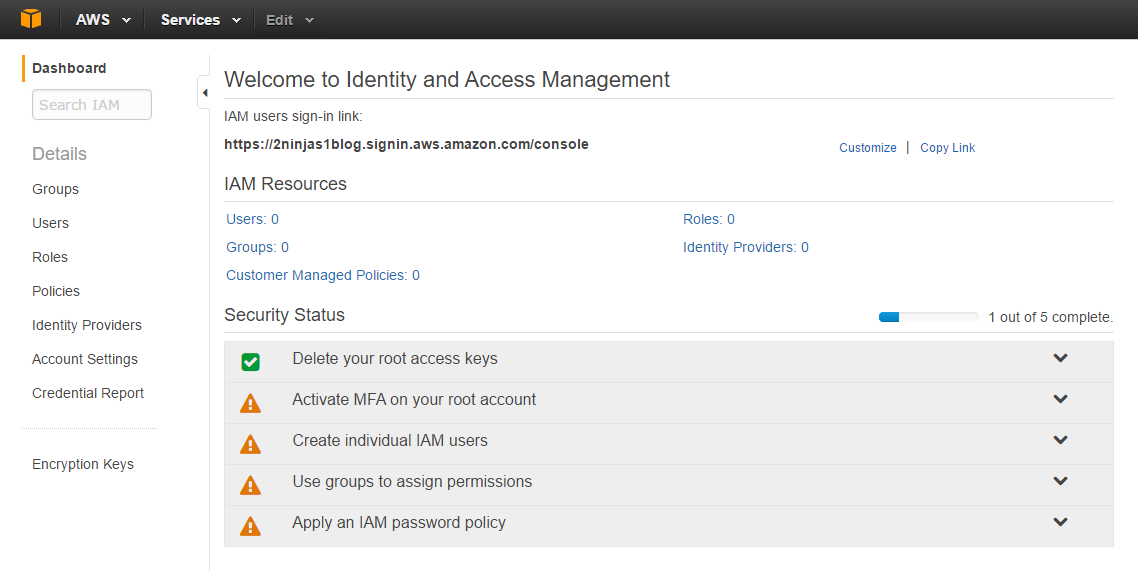
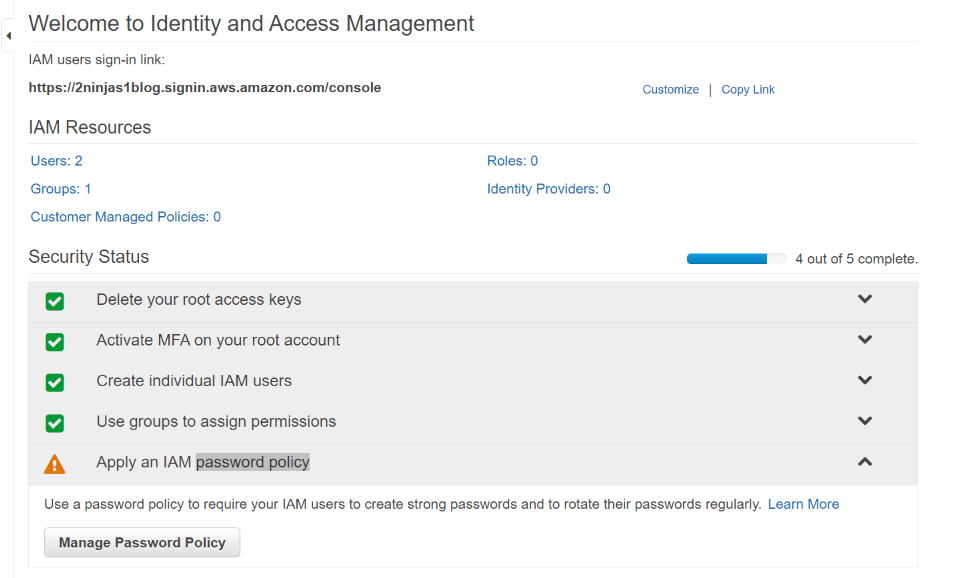
When creating your console link you have to remember it is a global DNS name space.  What you choose may already be in use.  Also your  users, groups, roles etc are not region specific. They are shared globally.   Here I created 2ninjas1blog by clicking on customize next to my IAM link. There are now 5 steps to complete your setup. You’ll see the root access keys are already deleted.

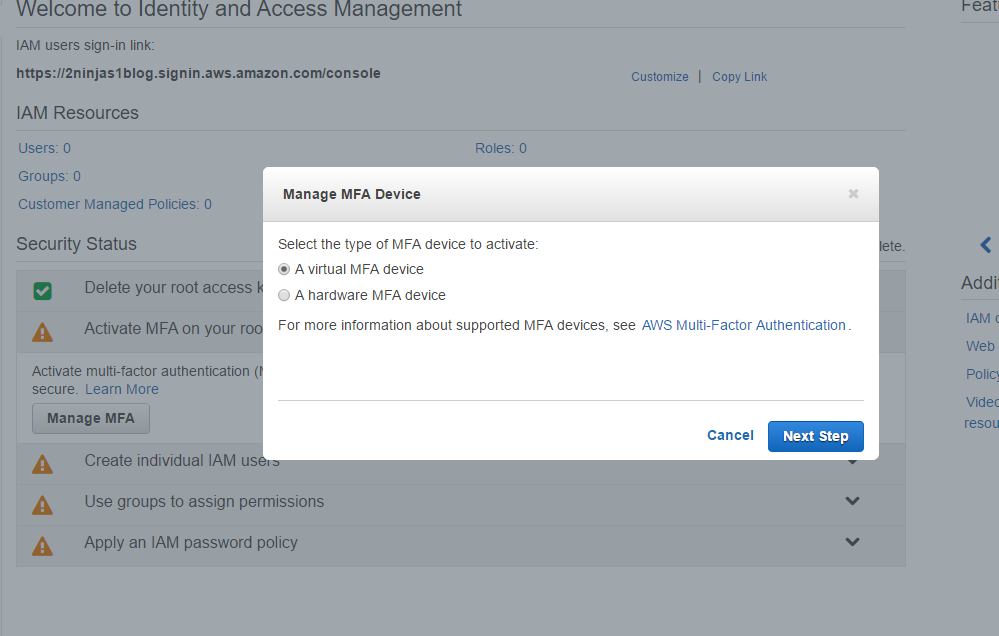
Click on Active MFA on your root account and then Manage MFA

You can select Virtual or Hardware, here I selected Virtual. There is a link from Amazon showing supported MFA devices. The Google Authenticator on your smartphone works well and is easy for this demonstration.

mfa1

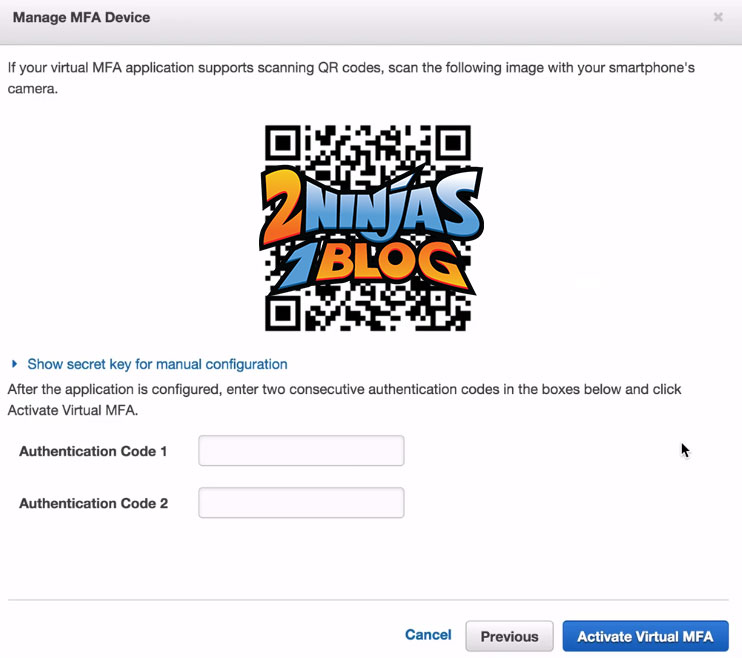
A QR code will be displayed. This is where your authenticator device comes in. I used Google authenticator on my phone and scanned the QR code. You then input 2 codes from the authenticator

iam

And click Activate Virtual MFA

You will now get a message that the MFA device was successfully associated.

Now that we have activated MFA on the root account, lets go on to the next step and Create individual IAM users
Click on Create individual IAM users on the dashboard and on the left click Users

image

Click Create New Users. Remember by default users will not have access until permissions are granted to them.

Here I create our 2 users and click on generate an access key for each user. This is very important to save because you cannot obtain it later. This will prompt a download of the credentials after we create a password.

image

The next screen shows the Access Key ID and Secret Access Key.  These can be used for CLI to directly interact with the AWS console.  You can download the credentials and put them in a safe place because this will be the only chance you get.  Below is an example user to show the screen.

keys

Here are both accounts but no password is assigned to either one.
image

We need to click check next to the User Name and click User Actions and select Manage Password
image

Here you can have an auto-generated password and set if you want the user to reset their password at login. Credentials in a form of a csv file can be downloaded and should be kept in a safe place.

Now these logins are useless without permissions assigned. You can assign them directly to a user account but it’s best practice to create a group and assign users to the gorup.

Now we are on the 4th task of our IAM console, Use groups to assign permissions.
In order to assign permissions we need to create a group with a policy attached. Policies have the permissions listed within them. Click on Groups then

image

Through the wizard, I can Set a Group Name
image

Then attach the Administrator Policy
image and click Generate

image

Now I can add my 2 users to my new Administrator group. By going to Groups on my dashboard, click the check box next to NinjaAdmins and under Group Actions select Add Users to Group.

Now I can select NinjaAmy and NinjaNick to be NinjaAdmins
image

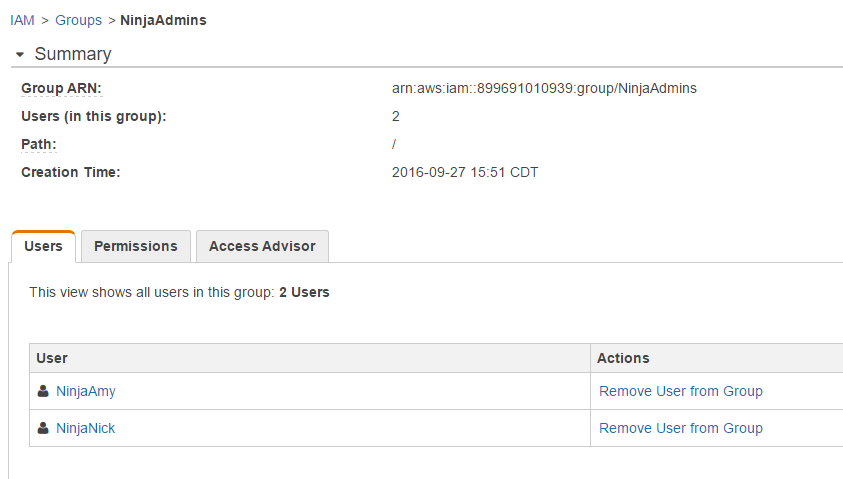
I select my NinjaAmy and NinjaNick users and now I can see 2 users are part of my NinjaAdmin group

groups2

You can always go back and click on Groups to see who is a member and what sort of permissions they have.  You can also remove users from the group

group3

Yay, we are almost done.  Lastly, we have to Apply an IAM password policy.  Click on Manage Password Policy

iam2

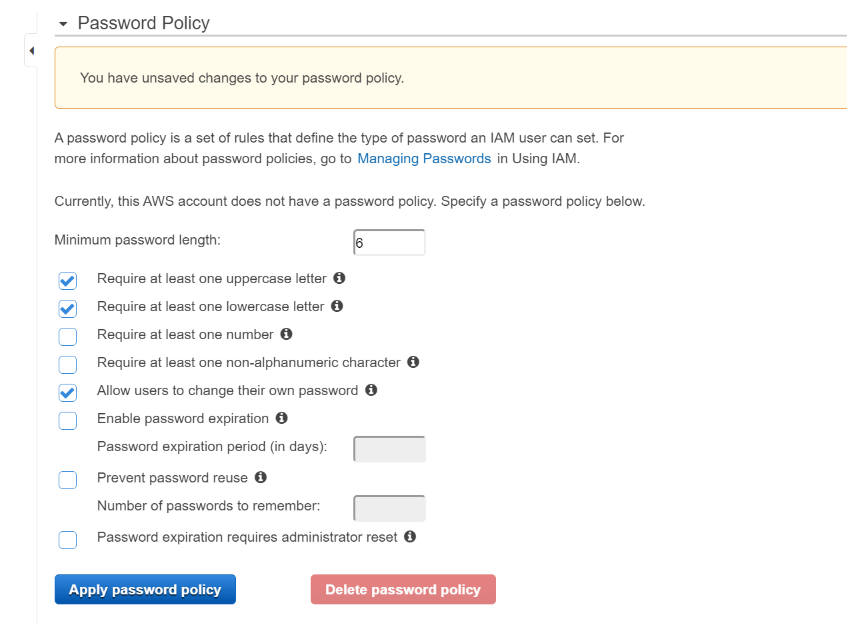
Here you can go through a number of requirements

iam3

Apply your password policy and you will see you are now finished setting up IAM.

I can now log into https://2ninjas1blog.signin.aws.amazon.com/console with my username: NinjaAmy and come into the AWS console, no longer using root

login

On the top right, you can see NinjaAmy in lieu of root.

login2

This completes Part 1 of IAM. Part 2 will go deeper into the roles and policies.

2 Ninjas and Amazon Web Services

Amy and I spend a good amount of time working on external projects. In fact, we discussed at the beginning of this year what we wanted to focus on. For me it has been wrapping up my Pluralsight Course for vRO, as well as, working on extending Tintri APIs to meet business use cases. For Amy, it’s been knee deep in automating the world at UCMC, as well as, working and discussing ideas around community and charity work that we hope to start early next year.

For the rest of this year, we are going to now continue our Real World Cloud Series and given the rise in AWS ,which does not seem to be slowing down, we’ve decided to get going on a series focused around AWS. We are going to start off in the IaaS services first, expand these into the automation and service catalog discussions that we have on a day to day basis. After that we will continue on to gather AWS certifications. I will also be blogging about this on the Ahead blog site from a higher level and business standpoint. There are tons of useful posts there from many of my colleagues whom I work with so definitely check it out.

We have created 2 pages to organize this:

AWS Guides

AWS Solutions Architect Associate Exam

In some cases, both pages will share some of the same blog posts but hopefully this helps if you are just trying to focus on the exam.  It will all become clear as the posts start to come out in the next few months.


AWS Simple Storage Service (S3) – Fundamentals

Before diving into the other AWS services, it is highly recommended that you gather a strong background in all of the AWS Storage services and their specific use cases. In this post, we will be discussing AWS S3 specifically.

In short, S3 provides highly scalable object storage. In 2013, Jeff Barr , wrote a blog which stated that Amazon S3 had reached over 2 trillion objects and there were 1.1 million requests a second. I’d love to find an updated stat but this in itself gives an indication of how widely used this service is already.

Object Storage – Quick Primer

For anyone not familiar, object storage provides the ability to store objects (obvious I know). These are essentially collections of digital bits. This could be a document, digital photo, xml file etc. Object storage offers highly reliable and easy scalable storage of all these digital bits but there is basically no structure at all. It simply provides storage and differs from file storage which provides additional functionality. An example is something like update functionality. In a typical file system, you can append information directly to a file. In object storage, this is not the case. You can add an object and retrieve it immediately but you can’t change it. Rather, you have to update the object and then reinsert it. You can still apply permissions and versioning as we will see soon but as you architect applications today, you need to consider whether or not you truly do need a file system. Amazon did recently release EFS (think NAS basically) and this can potentially satisfy your specific file use cases. It is still early on though and the verdict is still out.

How do I use it? – Creating our first S3 Bucket

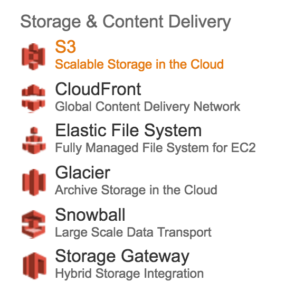
First login to your AWS console and you will see on the left hand side under “Storage & Content Delivery” the icon for S3.

AWS-S3

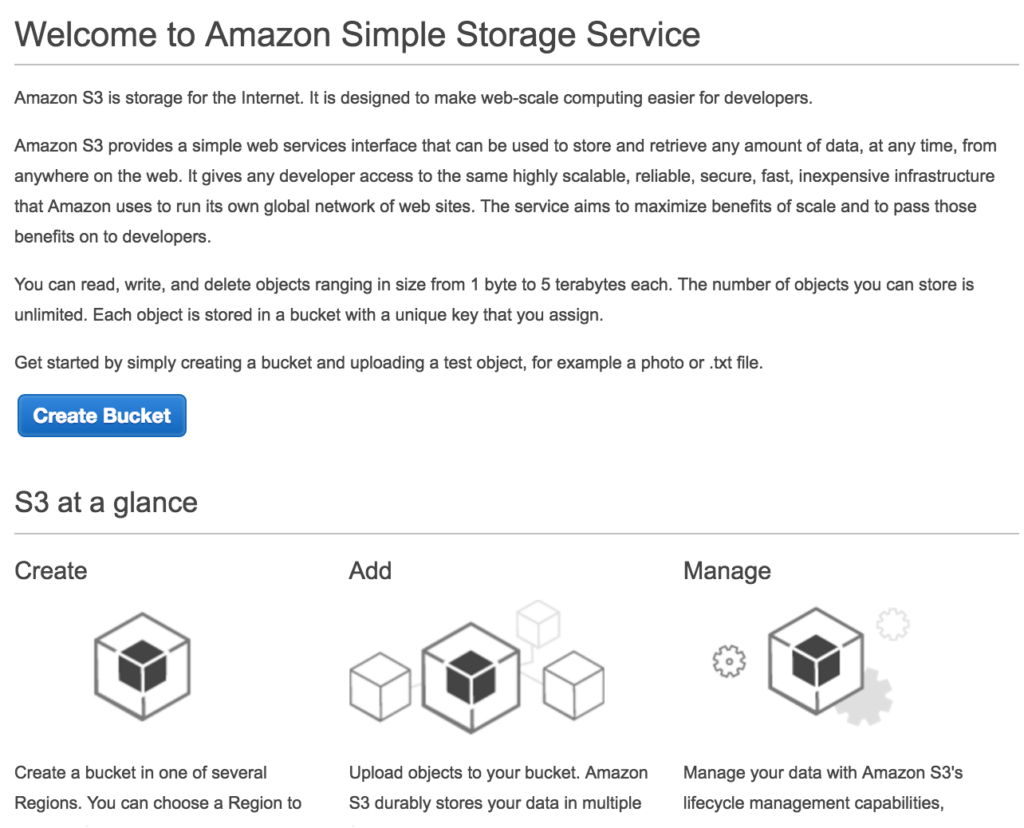
You will be presented with the welcome screen to S3

S3-welcome

The first thing to note is the term “Bucket”. It helps to think of a bucket basically as a folder but the name of the bucket is globally unique. Once someone takes the bucket name, it is not available for anyone else to use.

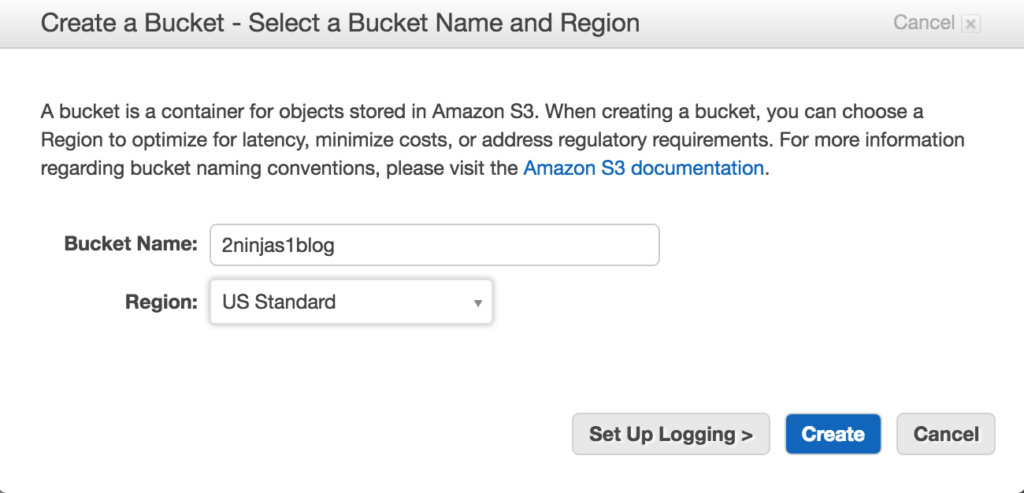
Simply select Create Bucket and type in a name for your new S3 bucket.

If someone else has the name already, it will error out and let you know. The name of the bucket also needs to be in lowercase.

firstS3Bucket

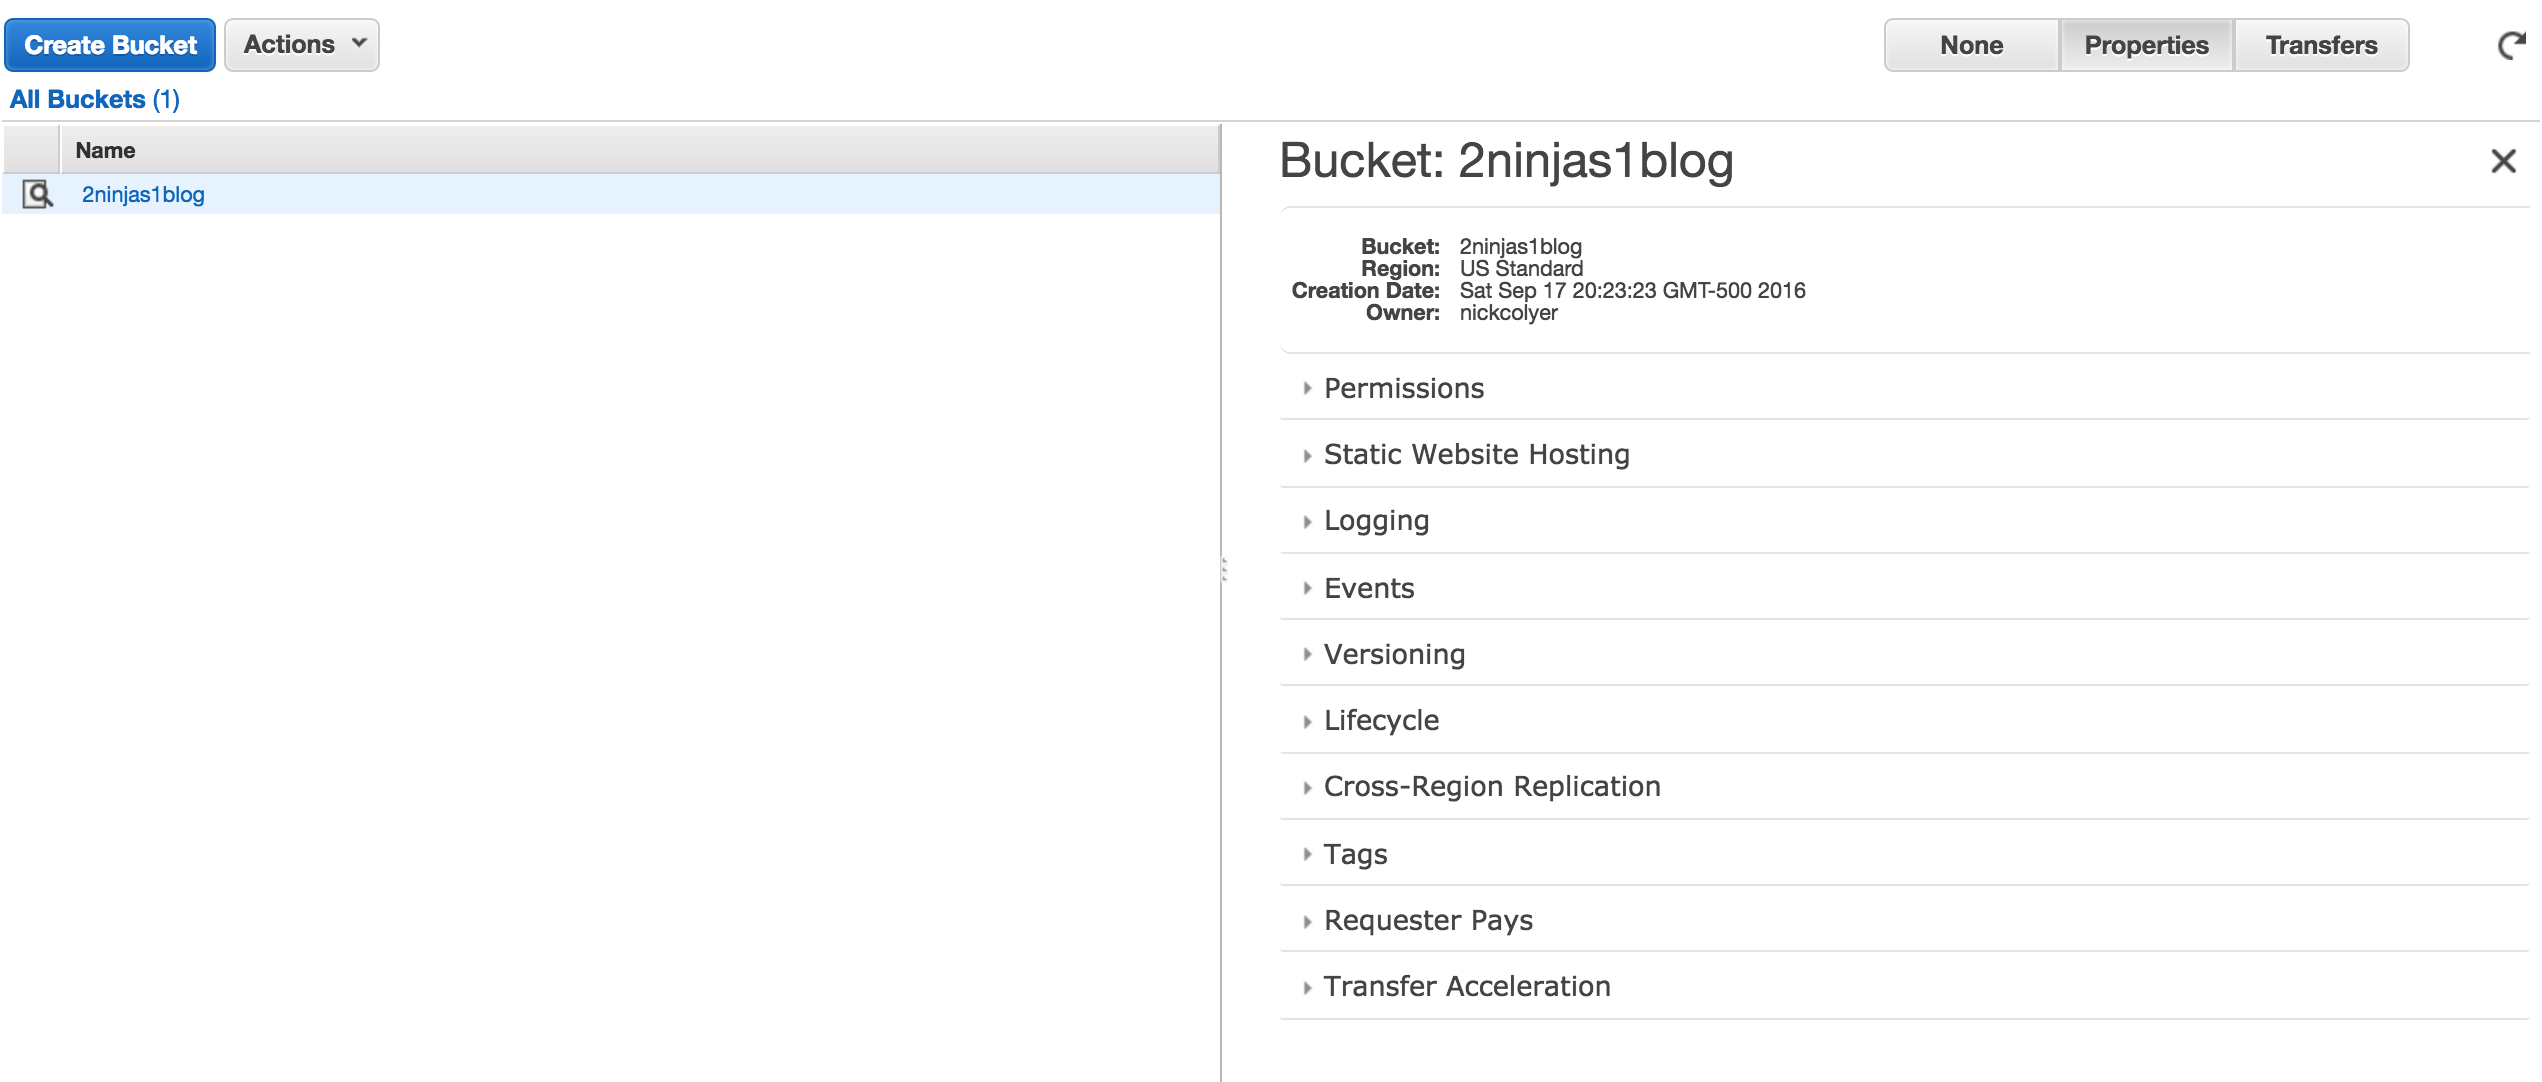
Once created, you will see the main S3 management screen.

screen-shot-2016-09-17-at-8-26-41-pm

You can see on the right hand side a number of options which we will come back to in subsequent posts. For now, if we click into our bucket, we will see that it is empty.

screen-shot-2016-09-17-at-8-28-36-pm


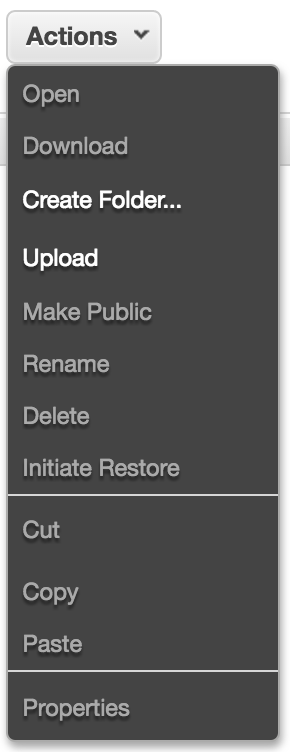
We can create additional folders inside of our bucket or simply begin to upload files at this point. If you select the Actions menu, you will also see additional options.

screen-shot-2016-09-17-at-8-30-22-pm

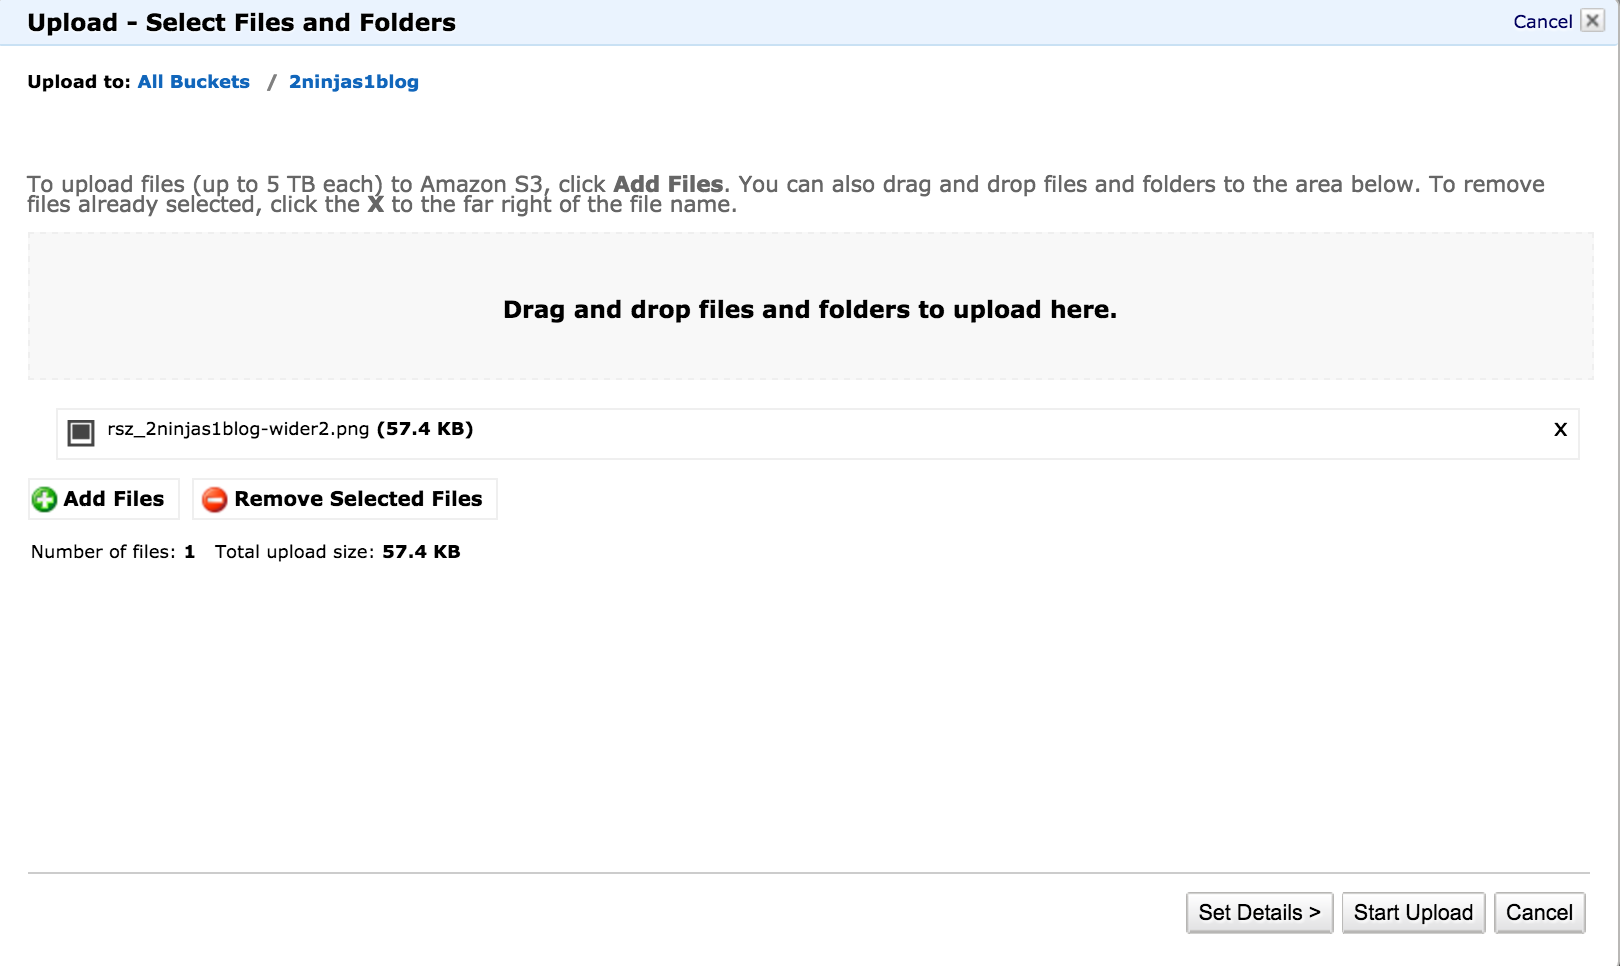
Let’s go ahead and upload a file. In my example, I will simply select a PNG image file as per the screenshot below.

screen-shot-2016-09-17-at-8-33-11-pm

Before we go ahead and start the upload it is worth clicking the Set Details button.screen-shot-2016-09-17-at-8-32-11-pm

You can see here that we have additional storage options we can apply. For now, we are going to select Use Standard Storage but there are ways to further reduce cost if the other storage options apply. There is also an option to use Server Side Encryption.

Go back and select Start Upload.

screen-shot-2016-09-17-at-8-35-28-pm

Once completed, we will see our image file appear on the left hand side.

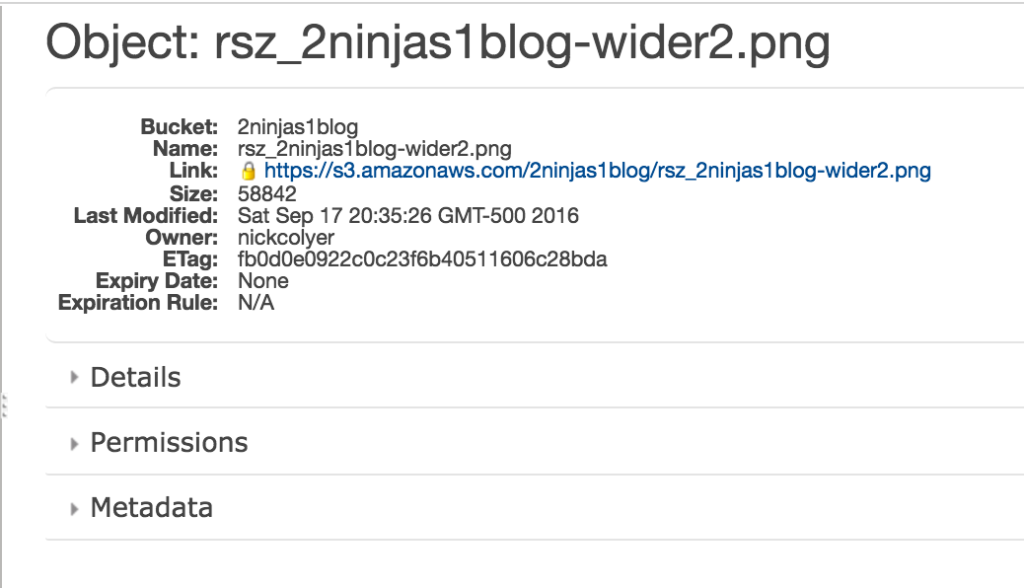
Select Properties from the menu on the top right, and you will be able to see

screen-shot-2016-09-17-at-8-36-43-pm

Note the link. If I put this into my web browser directly, I get the following Access Denied error.

screen-shot-2016-09-17-at-8-37-21-pm

This is because the permissions are not set to allow public access. If I go ahead and add Everyone to have Open/Download permissions as follows…

screen-shot-2016-09-17-at-8-37-32-pm

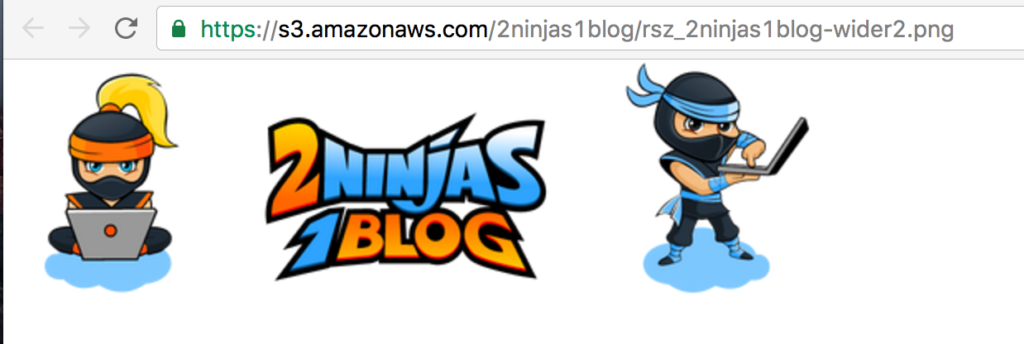
…I end up now being able to access this image publicly.

screen-shot-2016-09-17-at-8-43-12-pm


With that, our basic primer comes to an end. In the next post we will discuss the different storage types and permissions we saw above.


AWS Guides

AWS Solutions Architect – Associate Exam Guide