

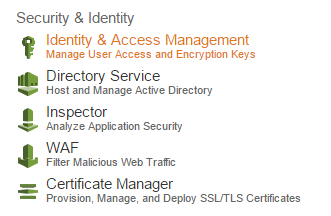
Amazon’s Identity and Access Management or IAM as commonly referred to gives centralized control to your AWS account. Not only can you give shared access with role based permissions you can also provide temporary access to users. Like Active Directory, you can set up a password rotation policy, length and complexity. There is an option for added security with multifactor authentication through providers like Google.
Log into your AWS account and click on the IAM symbol
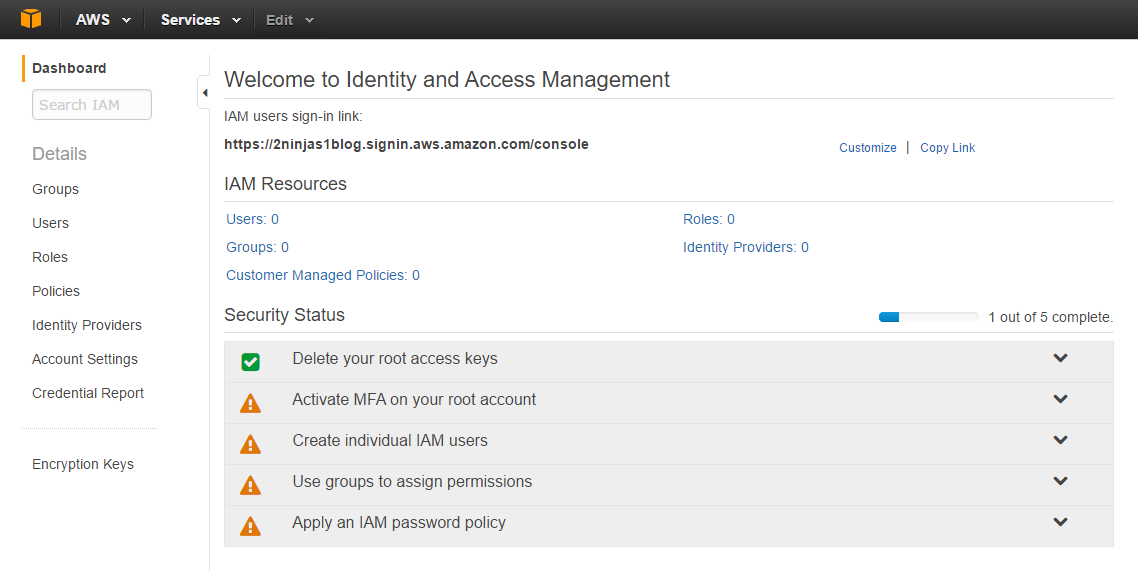
When creating your console link you have to remember it is a global DNS name space. What you choose may already be in use. Also your users, groups, roles etc are not region specific. They are shared globally. Here I created 2ninjas1blog by clicking on customize next to my IAM link. There are now 5 steps to complete your setup. You’ll see the root access keys are already deleted.
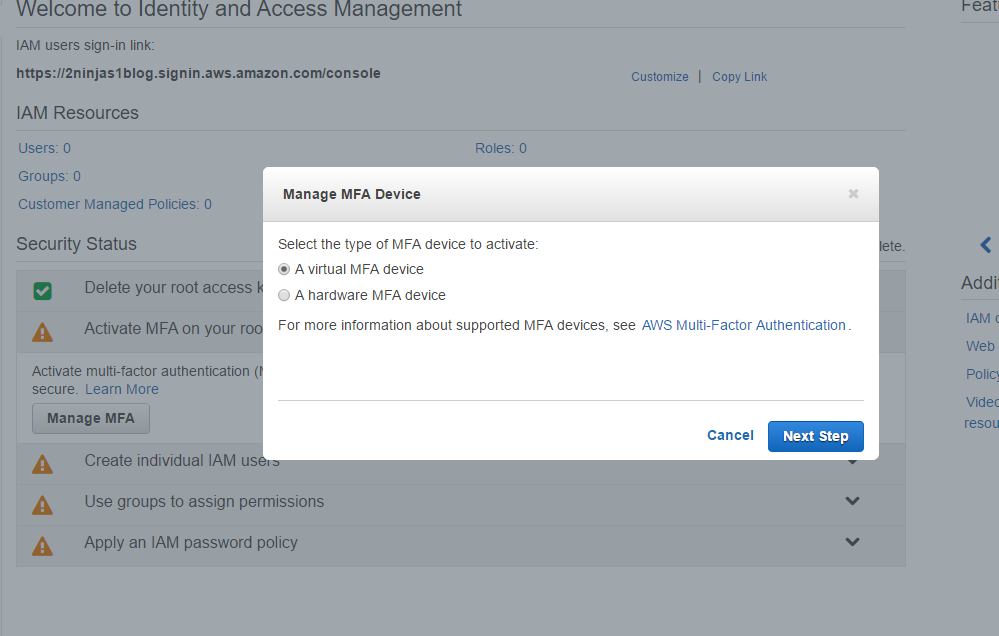
Click on Active MFA on your root account and then Manage MFA
You can select Virtual or Hardware, here I selected Virtual. There is a link from Amazon showing supported MFA devices. The Google Authenticator on your smartphone works well and is easy for this demonstration.
A QR code will be displayed. This is where your authenticator device comes in. I used Google authenticator on my phone and scanned the QR code. You then input 2 codes from the authenticator

And click Activate Virtual MFA
You will now get a message that the MFA device was successfully associated.
Now that we have activated MFA on the root account, lets go on to the next step and Create individual IAM users
Click on Create individual IAM users on the dashboard and on the left click Users
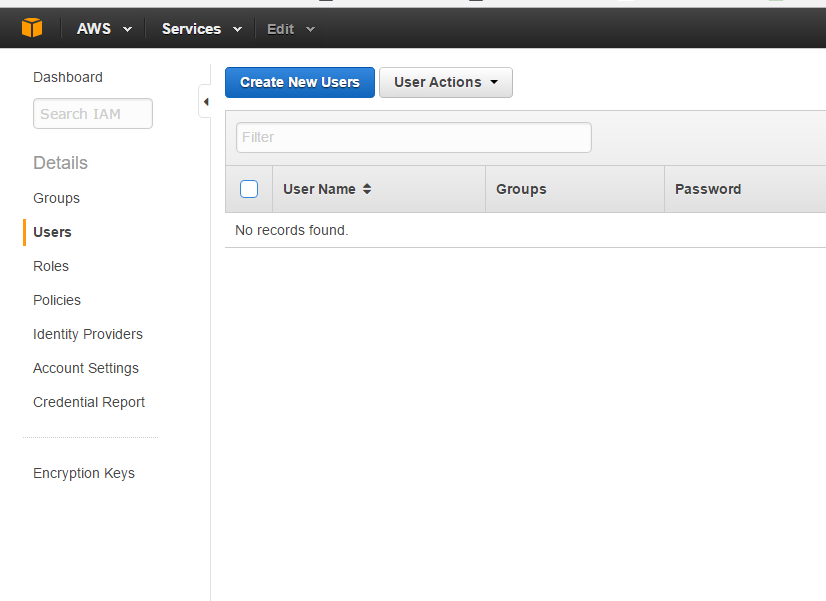
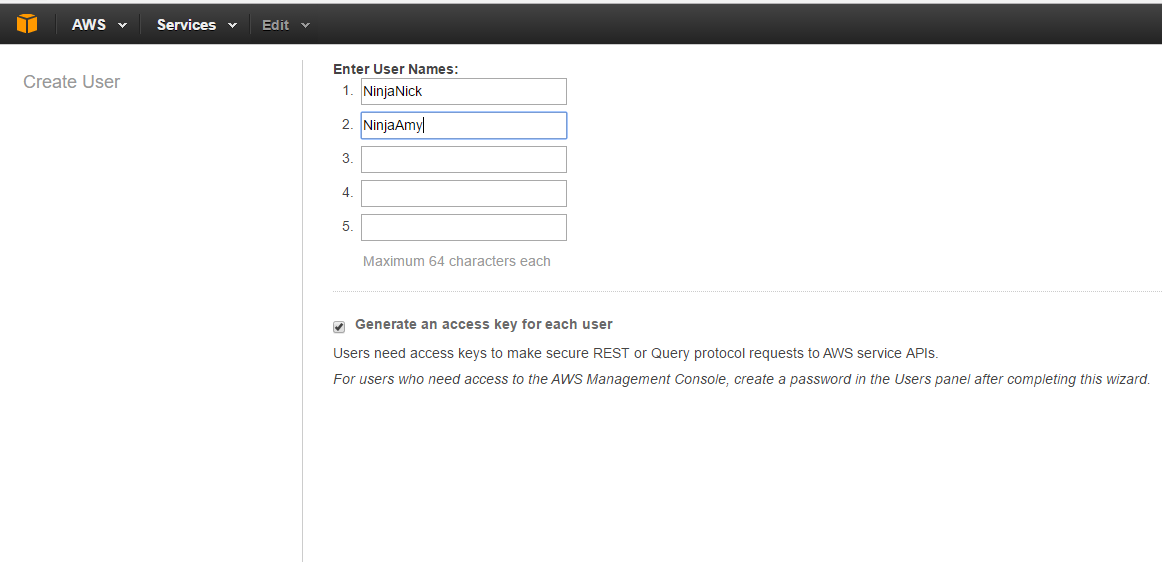
Click Create New Users. Remember by default users will not have access until permissions are granted to them.
Here I create our 2 users and click on generate an access key for each user. This is very important to save because you cannot obtain it later. This will prompt a download of the credentials after we create a password.
The next screen shows the Access Key ID and Secret Access Key. These can be used for CLI to directly interact with the AWS console. You can download the credentials and put them in a safe place because this will be the only chance you get. Below is an example user to show the screen.

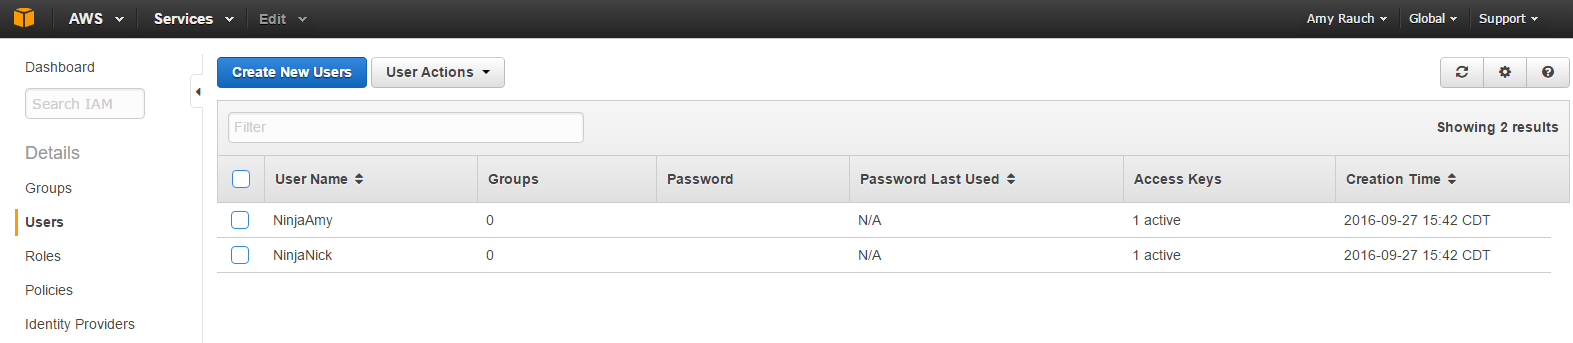
Here are both accounts but no password is assigned to either one.
We need to click check next to the User Name and click User Actions and select Manage Password

Here you can have an auto-generated password and set if you want the user to reset their password at login. Credentials in a form of a csv file can be downloaded and should be kept in a safe place.
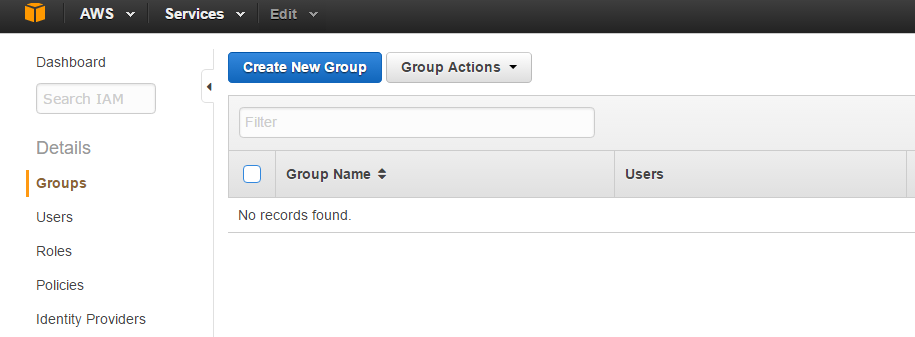
Now these logins are useless without permissions assigned. You can assign them directly to a user account but it’s best practice to create a group and assign users to the gorup.
Now we are on the 4th task of our IAM console, Use groups to assign permissions.
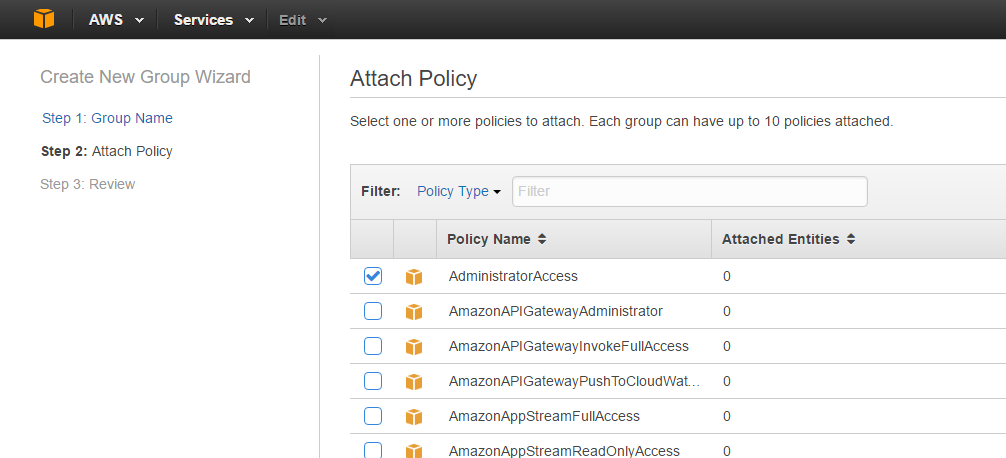
In order to assign permissions we need to create a group with a policy attached. Policies have the permissions listed within them. Click on Groups then
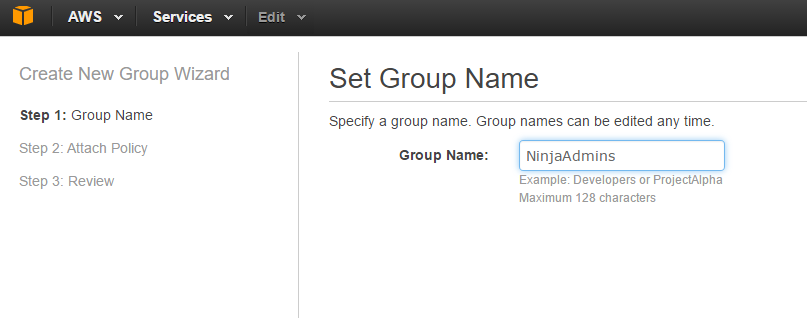
Through the wizard, I can Set a Group Name
Then attach the Administrator Policy
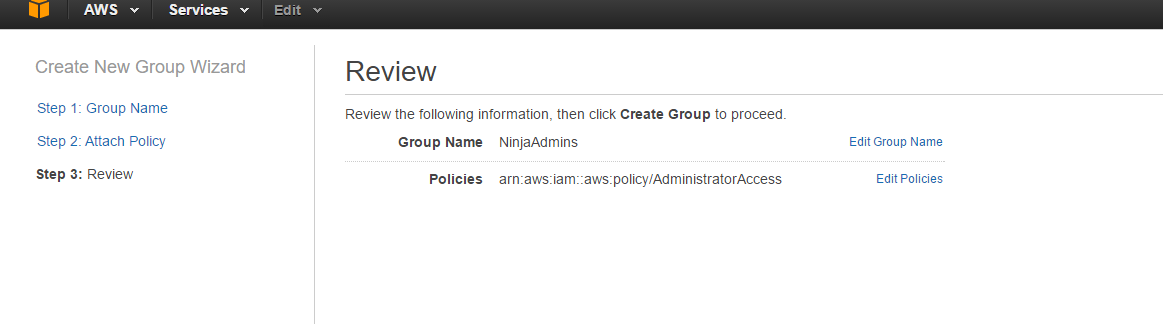
 and click Generate
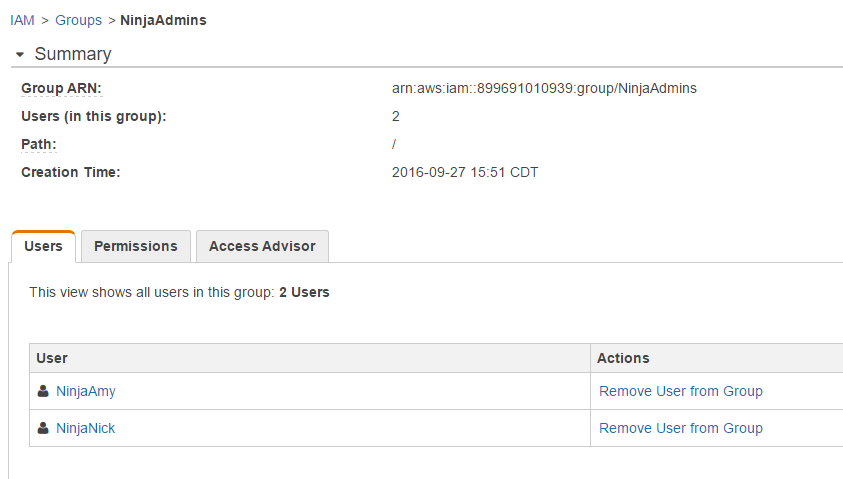
Now I can add my 2 users to my new Administrator group. By going to Groups on my dashboard, click the check box next to NinjaAdmins and under Group Actions select Add Users to Group.
Now I can select NinjaAmy and NinjaNick to be NinjaAdmins

I select my NinjaAmy and NinjaNick users and now I can see 2 users are part of my NinjaAdmin group

You can always go back and click on Groups to see who is a member and what sort of permissions they have. You can also remove users from the group
Yay, we are almost done. Lastly, we have to Apply an IAM password policy. Click on Manage Password Policy
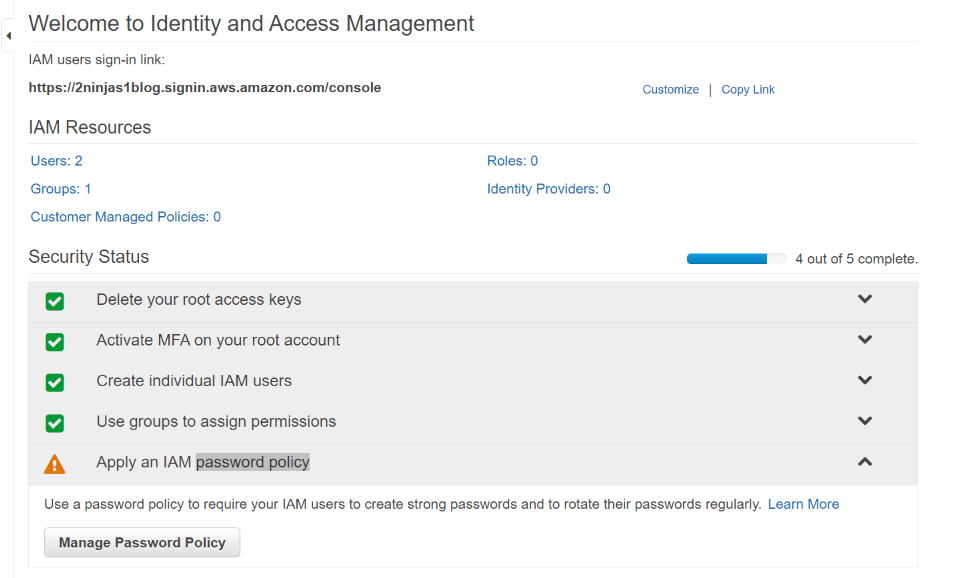
Here you can go through a number of requirements
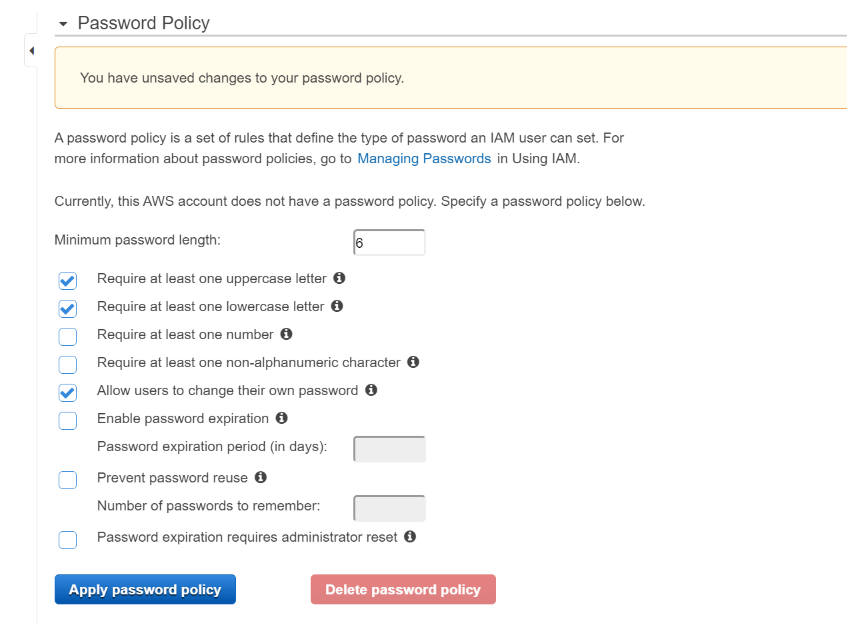
Apply your password policy and you will see you are now finished setting up IAM.
I can now log into https://2ninjas1blog.signin.aws.amazon.com/console with my username: NinjaAmy and come into the AWS console, no longer using root
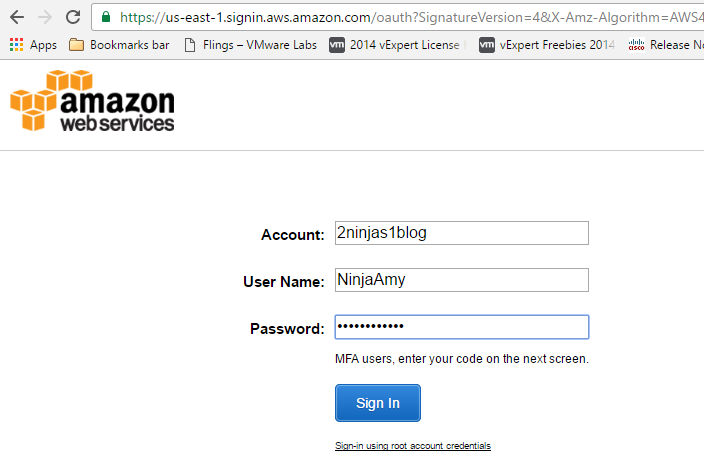
On the top right, you can see NinjaAmy in lieu of root.
![]()
This completes Part 1 of IAM. Part 2 will go deeper into the roles and policies.
Strangely, that QR code didn’t work for me… 🙂
Keep trying! ;D