I’ve been watching Terraform over the past few years and finally have had some time to start getting stuck into it. I must say, I’m impressed by the potential of this product and others from Hashicorp.
Terraform essentially fits in the Infrastructure Automation category, and has a similar coding approach to tools like Puppet, while in some ways operating more like an Orchestrator without the visual aspect.
What is it?
Essentially it adds a layer of abstraction to services like Amazon, Google etc. Instead of an AWS Cloud Formation template, I can use a Terraform configuration instead. On top of that, and the piece that is more intriguing to me, is the ability to use their module approach as well as other providers and provisioners.
Providers allow you to use the same declarative state language for other systems. I encourage you to check out the list on the Terraform site.
Provisioners allow us to essentially determine what and where we initiate other tasks. For example, you could use local-exec to execute commands locally on the terraform box, or remote-exec to execute on a remote server via SSH or WinRM.
The idea behind all of this is that you have one place, and one language to learn which then works across public Cloud providers. You don’t need to learn say the AWS Cloud Formation Template language and then go learn another language in another cloud provider. You simply would use Terraform to deploy all.
How do I use it?
Let’s get stuck in and walk through a very basic Terraform configuration for deploying an AWS Instance. At the core of Terraform is the .tf file. This combined with other files in the same directory or module directories, form a Terraform Configuration. There are 2 formats to the Terraform files, Terraform format, or JSON. It is recommend that you use the Terraform format which is easily readable (think Puppet DSL).
Example: Create an AWS EC2 Instance with Terraform
Note: For all activities below you will need an AWS account and will be charged via Amazon appropriately. I try to use free tier for all demo examples.
- Create a folder to store your Terraform configuration.
- Open up notepad or your favorite editor. I use Visual Studio code along with the Terraform Extension.
- Create the Terraform configuration and save it as a .tf file.
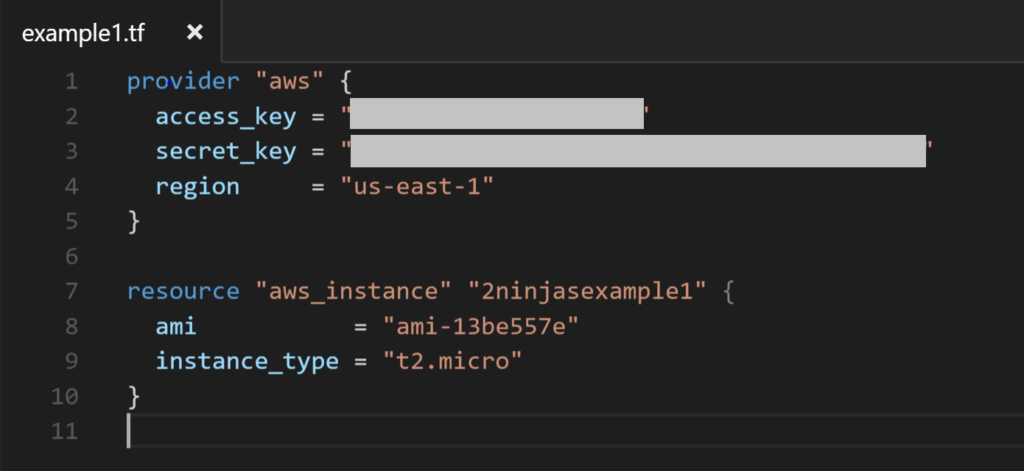
The first piece we declare is the provider which in this case is AWS. Grab your access key and secret key and then choose a region you want to provision our EC2 Instance into.
provider "aws" {
access_key = "yourkeyhere"
secret_key = "yoursecretkeyhere"
region     = "us-east-1"
}
Next, we declare our new resource. In this case I am choosing to instantiate and AWS instance called “2ninjasexample1”. I am going to use the Amazon AMI with ID “ami-13be557e”. Finally i’m choosing my type of instance as t2.micro.
resource "aws_instance" "2ninjasexample1" {
ami           = "ami-13be557e"
instance_type = "t2.micro"
}
That’s it for our configuration file. Simply save it in the folder you created in step 1 and browse to that folder.
- Type terraform plan and you should see a result like the screenshot below.
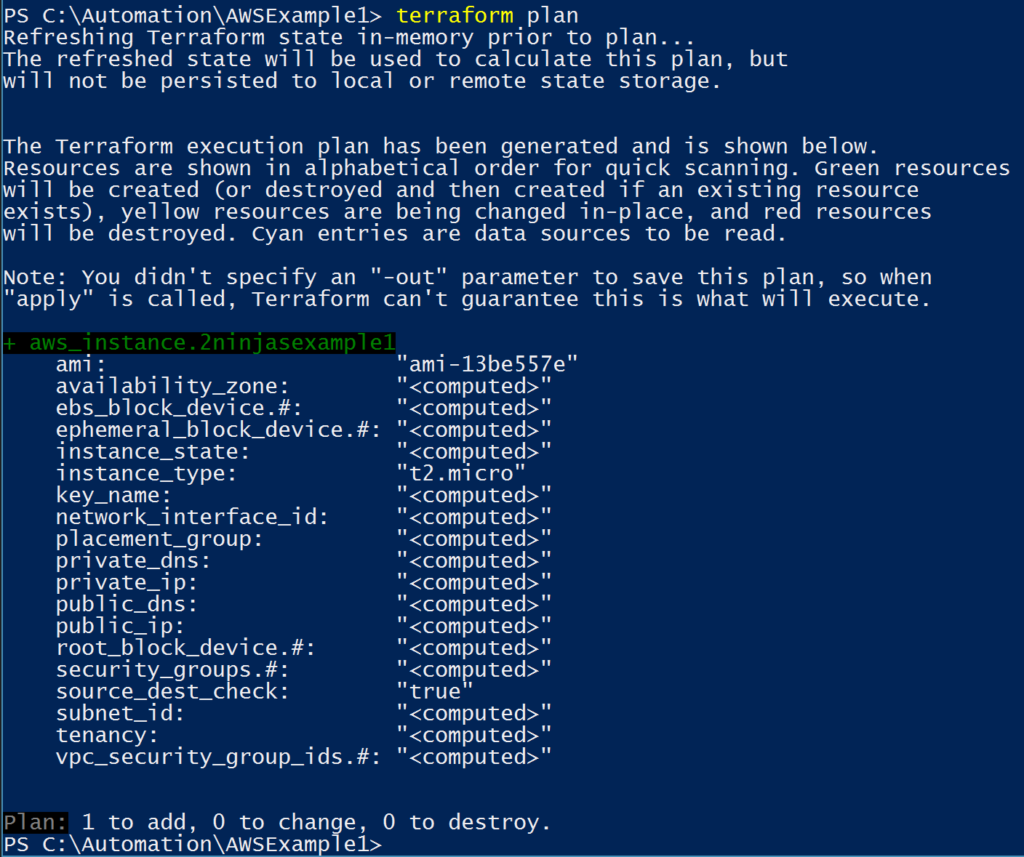
You can see that if we go ahead and run the configuration, it is going to add the aws instance. - Now it’s time to actually apply the configuration. Type terraform apply to go ahead and create the instance.
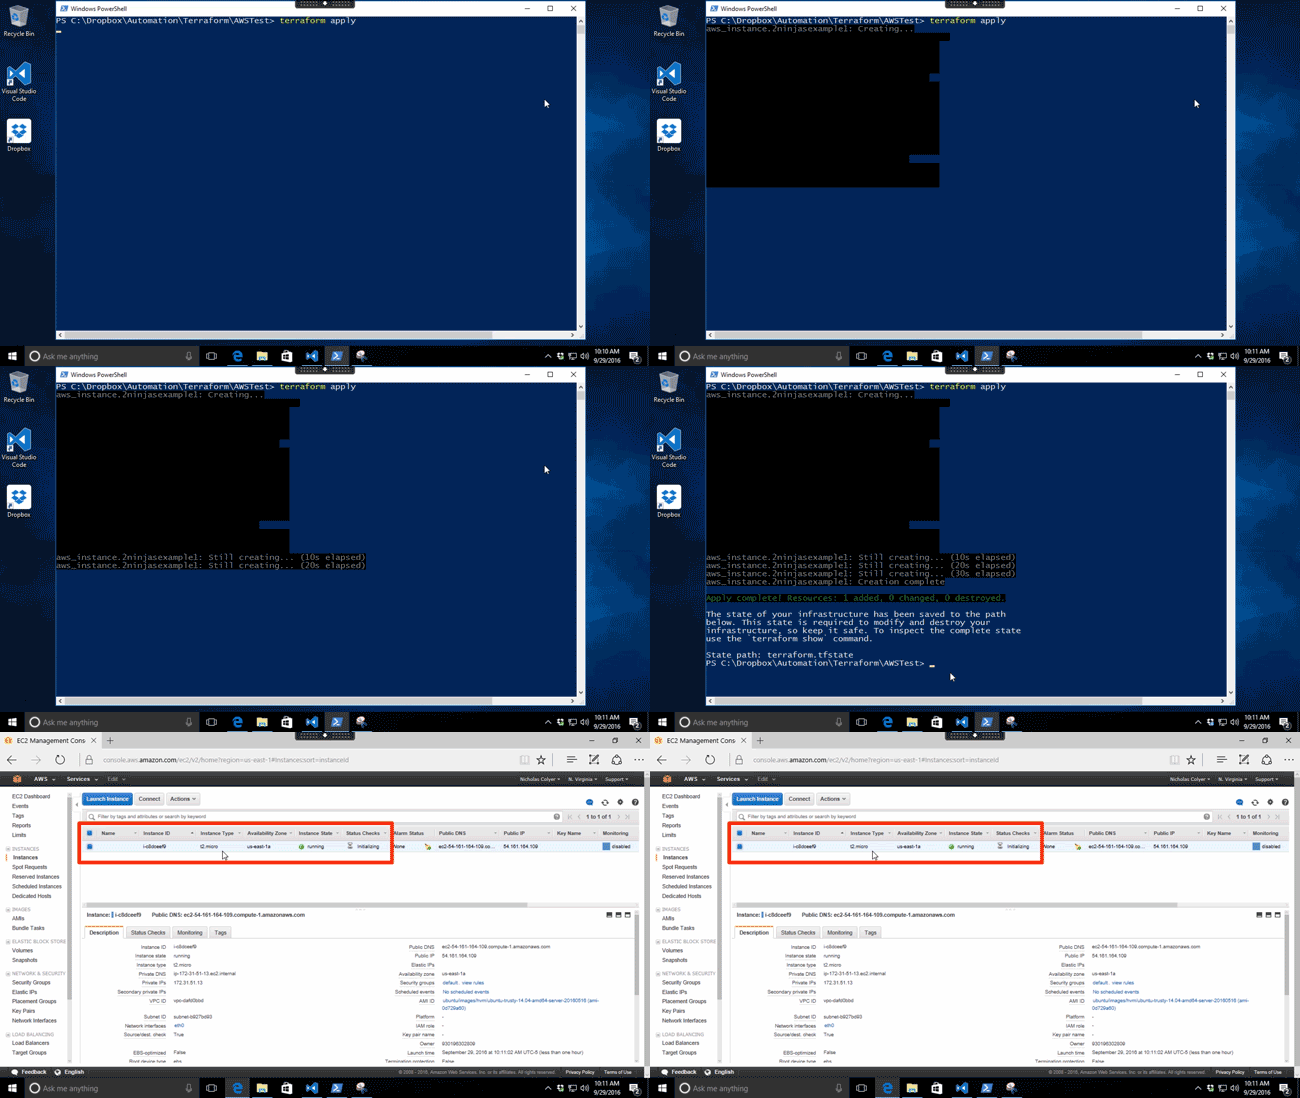
Terraform creates a new AWS EC2 instance as well as 2 additional files in our folder which maintain the state information.
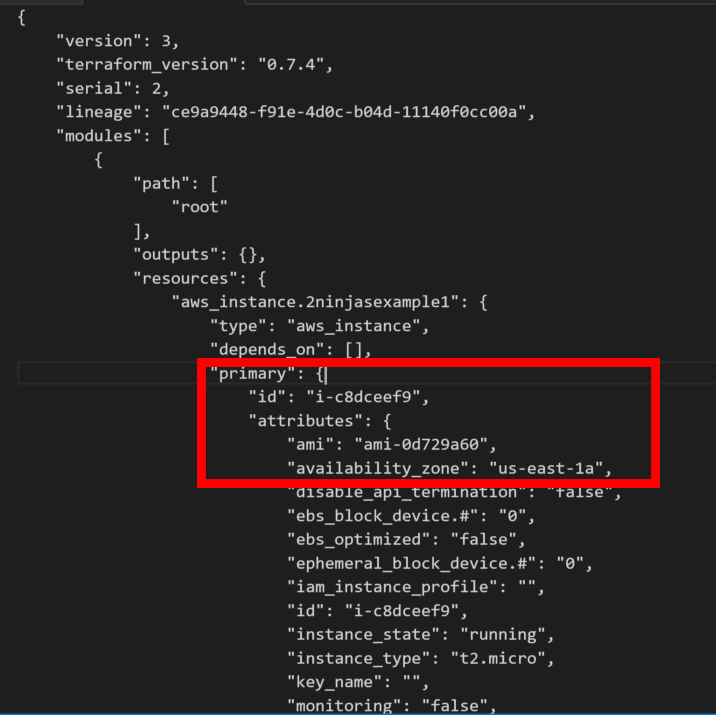
If we examine the .tfstate file, you will see it contains all the specific information about our AWS instance.
In particular, you can see that it has captured the AWS instance ID which you can also view from your AWS console if you select your EC2 image.
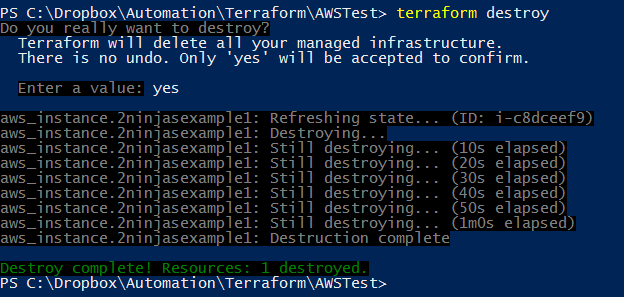
- Finally let’s destroy the stack. Type terraform destroy. You will be prompted to confirm by typing yes.
Just like that, it is destroyed! You will also notice your state file updated to reflect this.
Hopefully at this point, you can see the power behind this tool. Stay tuned for more posts on this.


