
With our base VMware vSphere VM shell ready, it’s time to continue installing the Windows OS.
Just before we dive in, it is worth noting that depending on how you are remotely connected into the desktop, you may have issues controlling your mouse. In my case I was going via a View Desktop and then into the VRM console. I decided to just use the Tab and Spacebar key instead to make my selections. This will get much easier later on when VMware Tools is installed in the VM.
- Select Install now, accept the defaults for language etc. until you get to the type of OS you wish to deploy.
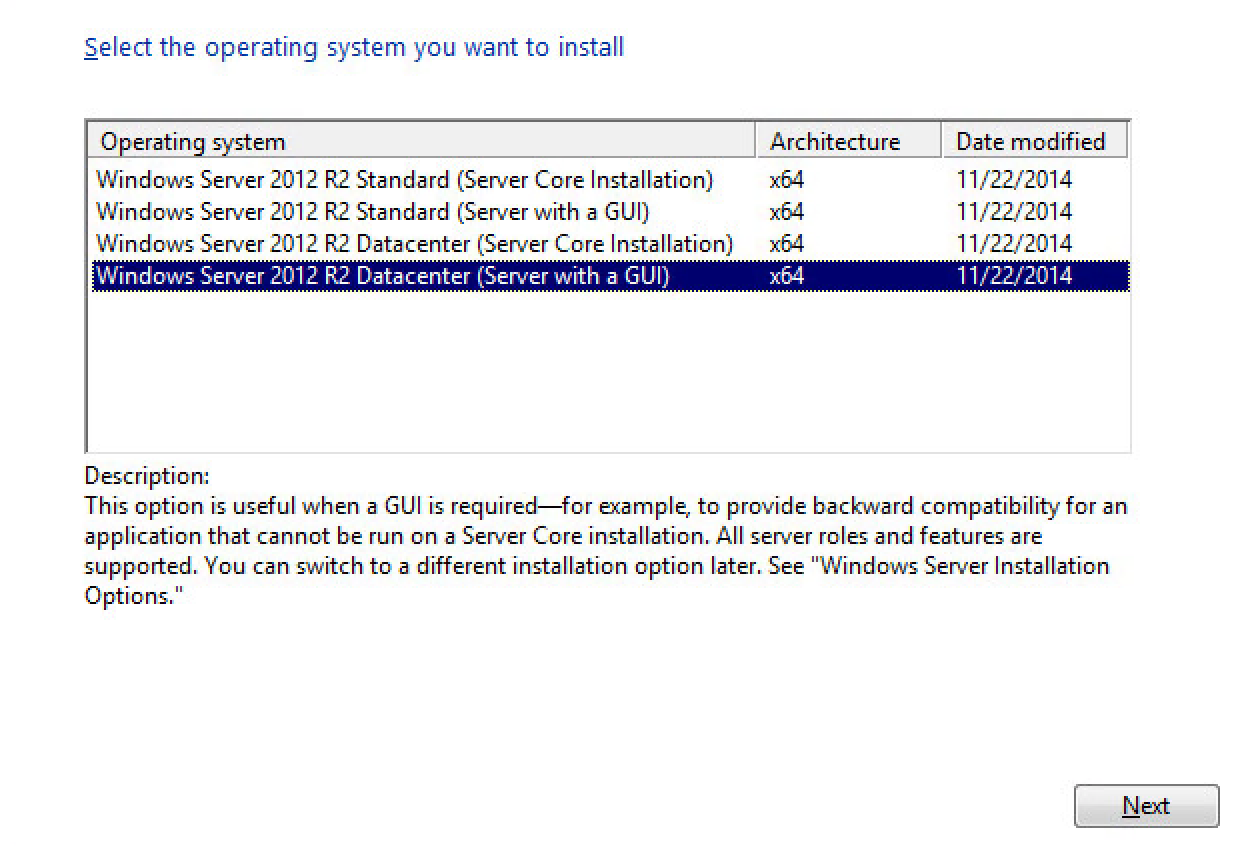
- I choose the Datacenter Edition with GUI here. Note: You can always remove the GUI and go back to ServerCore if needed. I know in my environment our Windows team still generally uses the GUI
- Click Next once chosen
- Accept the license terms and click Next
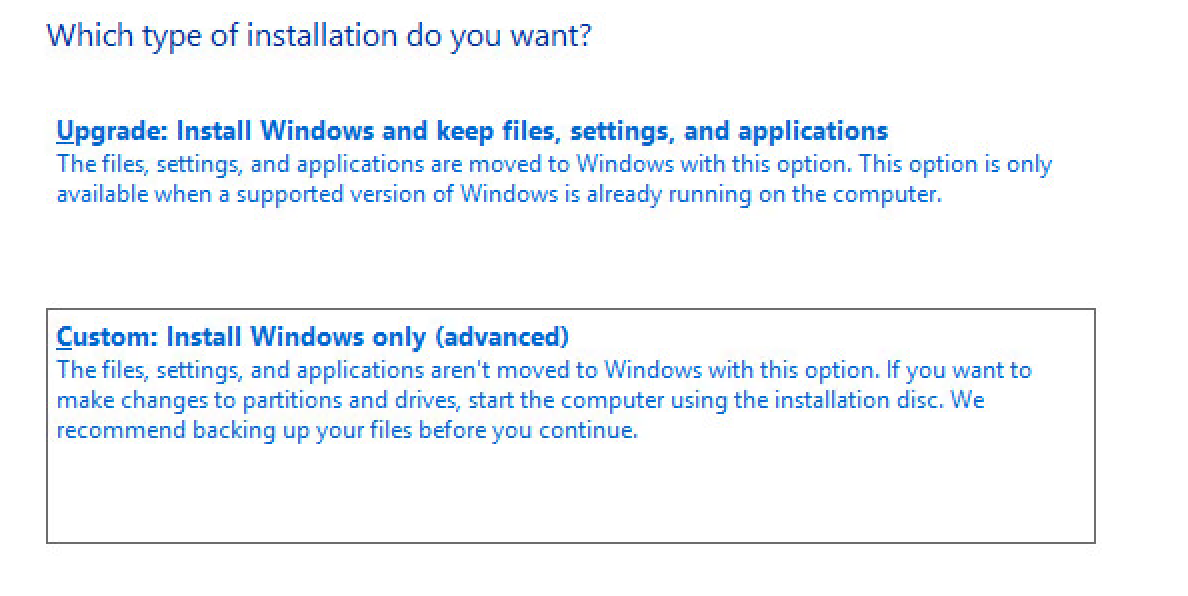
- Change the installation type to Custom: Install Windows Only (advanced) and click Next.
- Next you will be prompted for your drive layout. It should look like the screenshot below unless you chose a different drive configuration.
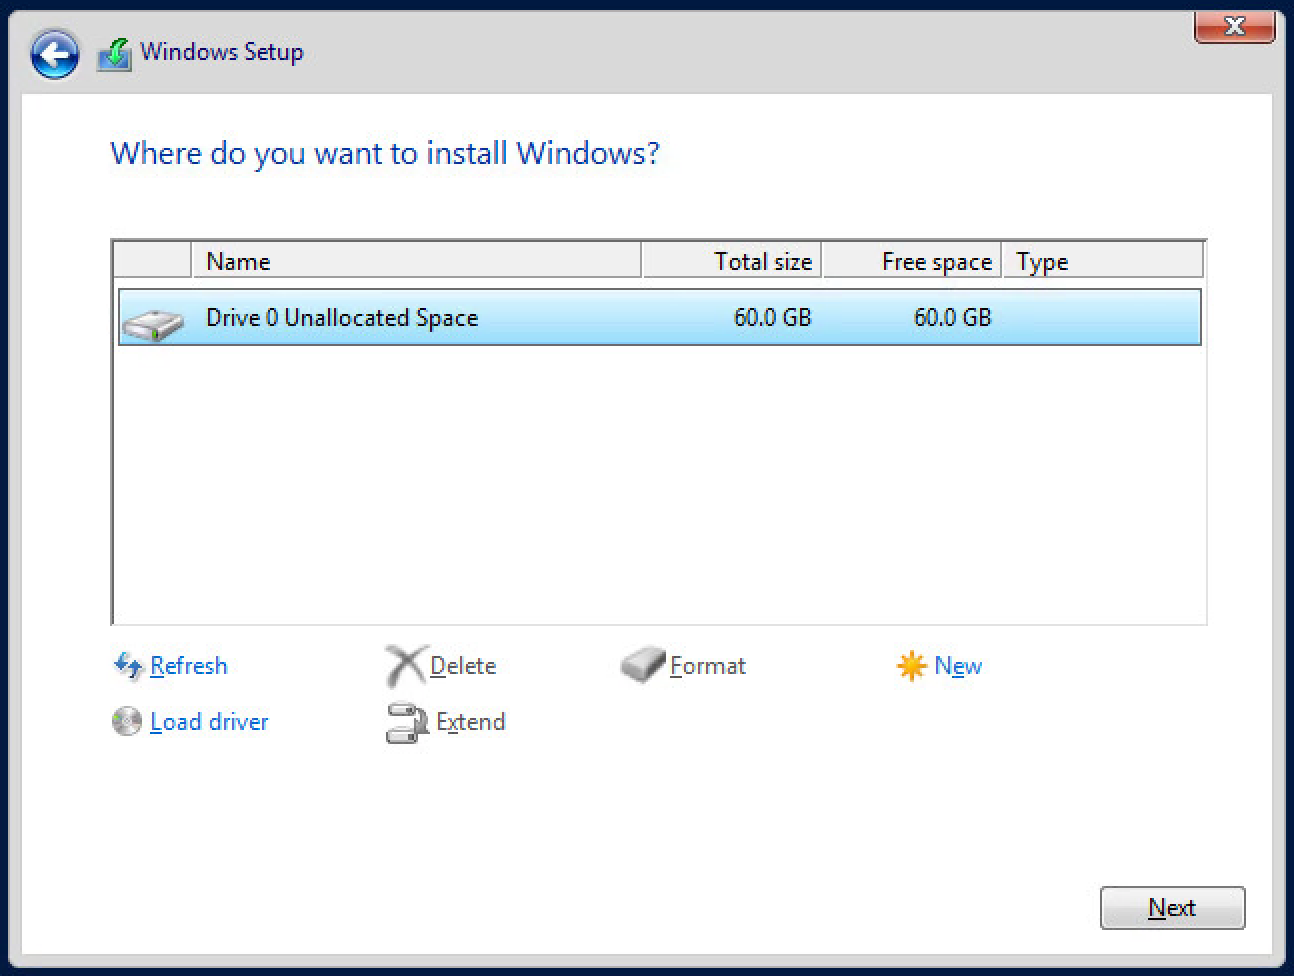
- Leave Drive 0 selected and click Next
Sit back relax and enjoy the show!
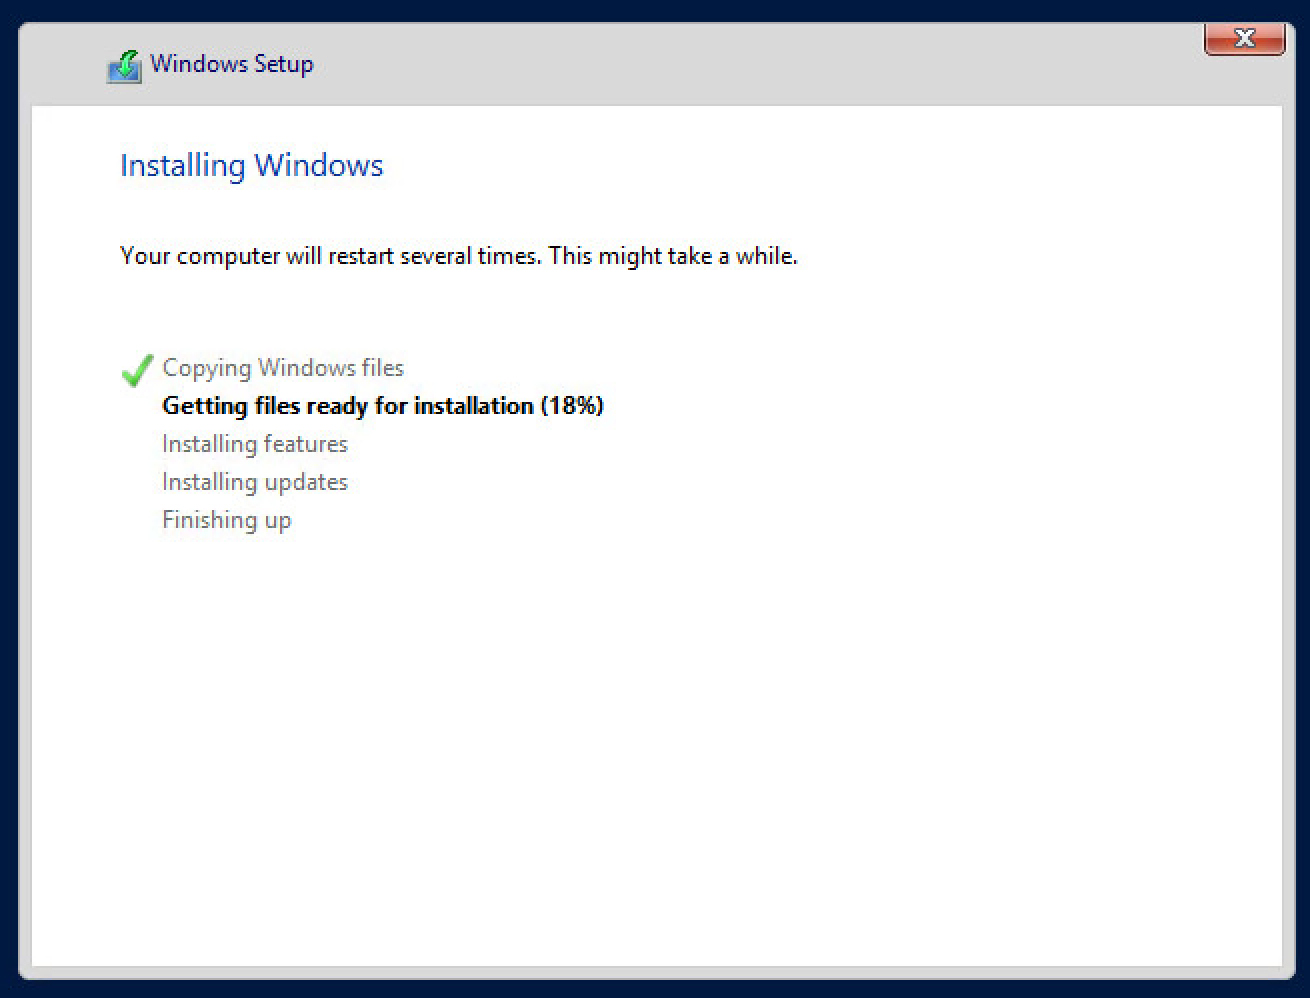
Enjoy some tea while you wait…

- Once finished you will need to enter your Administrator Password for your Windows Template.
Coming soon – Part 3 – Configuring and tuning your OS